

How to create an Azure Active Directory SmartObject Service Instance
kbt142397
PRODUCTObjective
This article provides guidelines and steps that can be followed when creating an Azure Active Directory SmartObject Service Instance.Before You Begin
To understand the objective of this KB better and to familiarise yourself with some basics before you begin, please read the information in this link.
How-to Steps
A. Create an AAD SmartObject Service Instance
1. From your AAD Service, right-click and then choose Register ServiceInstance.
2. On the Authentication Mode drop-down choose ‘OAuth’.
3. On the OAuth Resource drop-down choose the value that is auto provided, it will be in the following format: xxx-xxxxxxxx-xxxx-xxxx-xxxx-xxxxxxxxxx
4. On the OAuth Resources Audience, you may leave it blank since you do not have SharePoint.
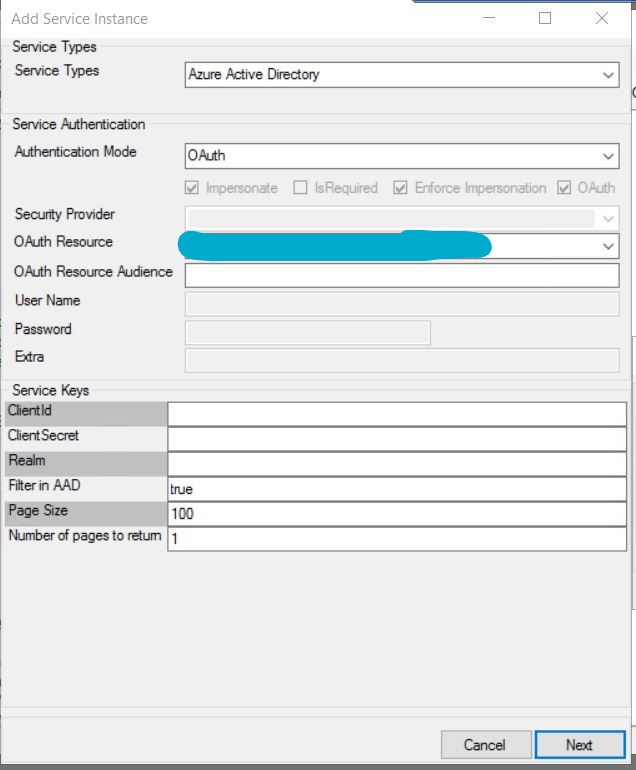
5.Click next, then the following window will pop up.
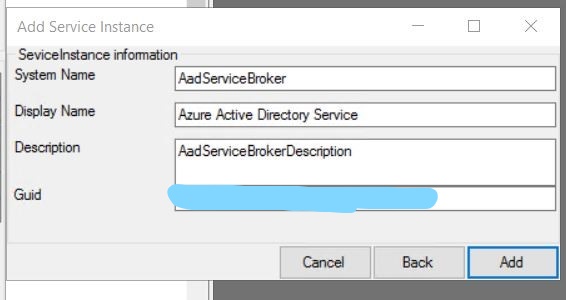
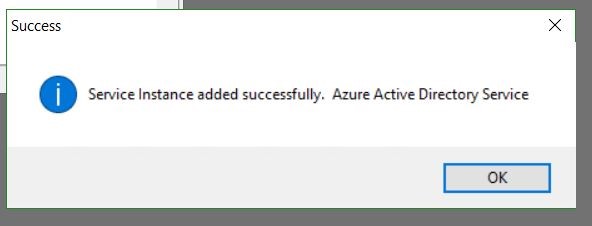
6. Click Add, and then the following window will pop up. You have now successfully added your AAD Service Instance.
B. Create SmartObject Service Instance (For Users)
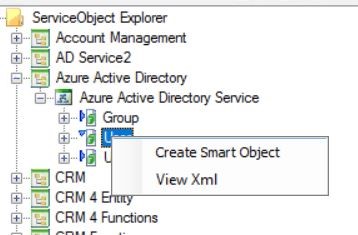
1. Next, using the SmartObject Tester Tool expand to ServiceObject Explorer/Azure Active Directory/Azure Active Directory Service/User.
Right click on ‘User’ and then click on ‘Create SmartObject’.
2. The publish SmartObject window will pop up as below. Then on your top-left corner, name your newly created SmartObject i.e. (NewlyCreatedSO), and click ‘Publish SmartObject’, and then ‘OK’ when the SmartObject has been successfully published.

3. Now, using the SmartObject Tester Tool expand to SmartObject Explorer/All SmartObjects/NewlyCreatedSO, right click and ‘Execute SmartObject’.
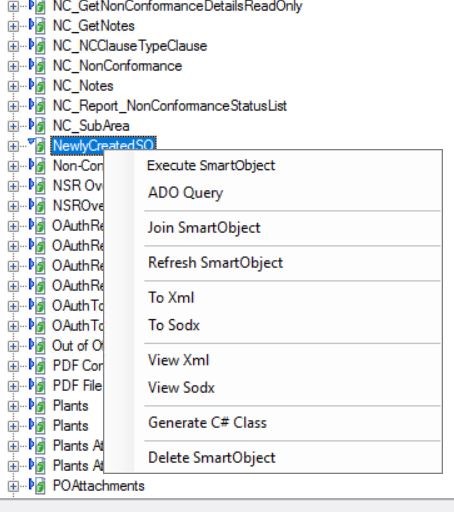
4. After completing the above steps you can execute your SmartObject and be able to add/create, GetList etc. AAD users through it.
