Custom tooltip auto adjust height issue

  • 10 May 2020
  • 1 reply
  • 173 views

Badge +7

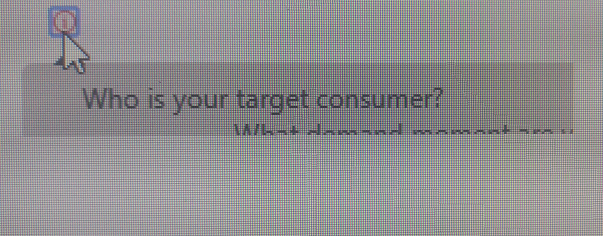
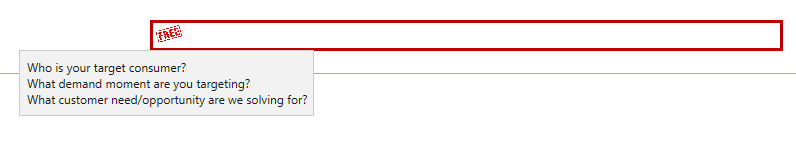
I am trying to implement custom tooltip (because character restriction in default tooltip).

But when i added code in datalabel, tooltip height is not adjust with data inside it, it is working perfectly in codepen.


Anyone having idea what will restrict in k2 form for it?


<ul>
<li>
<img src="https://xyz.com/Runtime/Image.ashx?ImID=376" height="12px" width="12px"/>
<div>
<a href="#">Who is your target consumer? <br/>
What demand moment are you targeting?<br/>
What customer need/opportunity are we solving for?<br/>
</a>
</div>
</li>

</ul>

<style>
h1{
text-align:center;
background:#1d1d1d;
color:#fff;
margin:0;
padding:10px;
font-family:arial;
font-weight:200;

}
ul{
position:relative;
cursor:default;
}
li{
/*list-style:none;*/
padding:10px;
color:#fff;
font-family:arial;
/*background:#1884BC;*/
border-radius:5px;
width:200px;
margin:15px;
display:inline-block;
}
ul li div{
background:#D0CFCF;
color:#fff;
padding:7px;
border-radius:5px;
position:absolute;
min-width:50px;
max-width:300px;
min-height: 20px;
mix-height: 200px;
display:none;

}
ul div:before{
content:'';
height:3px;
width:0;
border:7px solid transparent;
border-bottom-color:#1d1d1d;
position:absolute;
top:-16px;
left:14px;
}
div a{
color:#000000;
text-decoration:none;
}
</style>
<script>
$( document ).ready(function() {
$('ul li').mouseenter(function(){
var pos = $(this).position();
$(this).find('div').css('top', (pos.top)+50 + 'px').fadeIn();
}).mouseleave(function(){
$(this).find('div').fadeOut();
});
});
</script>


12851iE8F7DE0B61D83CE2.png


1 reply

Userlevel 4
Badge +13

 Hi BB33

This all comes down to a layering concept. The code is being rendered in the control and not on top or over the control, think of it as looking at the code through a window. Therefore, the control is one layer above the rendered code resulting in this behaviour. This can easily be tested by adding a border to the K2 control from the controls properties, run the view/form again, you will noticed that the custom tooltip "cut off" is happening right where the interception point of the rendered code and the controls border meet. The out of the box controls are also unfortunately not designed to adjust itself according to the contained custom code resulted content as it adjusts itself according to the contained custom code and not the results/output of the code.

Looking at this and the issue described here the requirement is to either
1) adjust the height of the control which the custom code is being executed in after or during the code execution allowing the codes result to display through the control however this might still cause the same issues later on with even more text as the layering issue will still be there. One again think of this as looking at your codes result through a window - this merely make the window bigger.
OR
2) use the default tooltip and manipulate it using custom code to allow for more text to be displayed in it effectively eliminating the layering issue described earlier and in the process also allowing some K2 functionality to remain intact for example setting the tooltip via rules making use of option 1 would have decoupled all these types of K2 functionalities from you codes visibility. Keep in mind this will however make visual styling of the actual tooltip a bit more tricky in terms of background color and so on but not impossible, regardless of the styling your control and tooltip will function as required without height issues or text limitation.

This being the case I would recommend option 2, using the default tooltip and manipulating it using code instead.
I was able to do so using the below code snippet which I added to a expressions and called it on the literally set data label, that worked as expected in affect displaying the desired length of text in the tooltip which becomes visible upon mouseover of the image in the control, if the image is clicked it would redirect to the specified url.
Note: Please ensure you replace the sections of the code snippet with the relevant details accordingly. The href will be the destination link and the src link would be the image displayed in your controls path.


<a href="https://www.google.co.za/" class="screenshot" rel="" title="Who is your target consumer? &#010;What demand moment are you targeting? &#010;What customer need/opportunity are we solving for?"><img src="https://themusiciansva.com/wp-content/uploads/2016/03/FREE-2.jpg" height="20px" width="30px" /></a>

Note: The below was used to add enters between text when defining the title text for the tooltip within the above code snippet.


&#010;


Result can be seen here:


Regards

Reply