

Topic
In order to completely automate a Foxtrot RPA project, the Unlocker action can be used to unlock a workstation so projects may be run at any hour of the day or night.
If you are using a version of Nintex RPA that is 16.x.x or later, it is advised to utilize RPA Central to get the full Nintex RPA experience and support.
Instructions
Creating the Unlock Action:
1. Once the Unlocker matching your Foxtrot version has been installed and enabled on the machine (see our Support Article here for the Unlocker requirements), you will see this message at the top left corner of the Lock screen. You can lock your PC by pressing the Windows Key + L at the same time, or pressing Ctrl+Alt+Del and selecting “Lock this computer”.
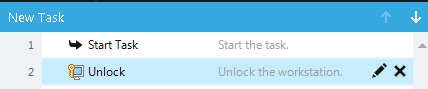
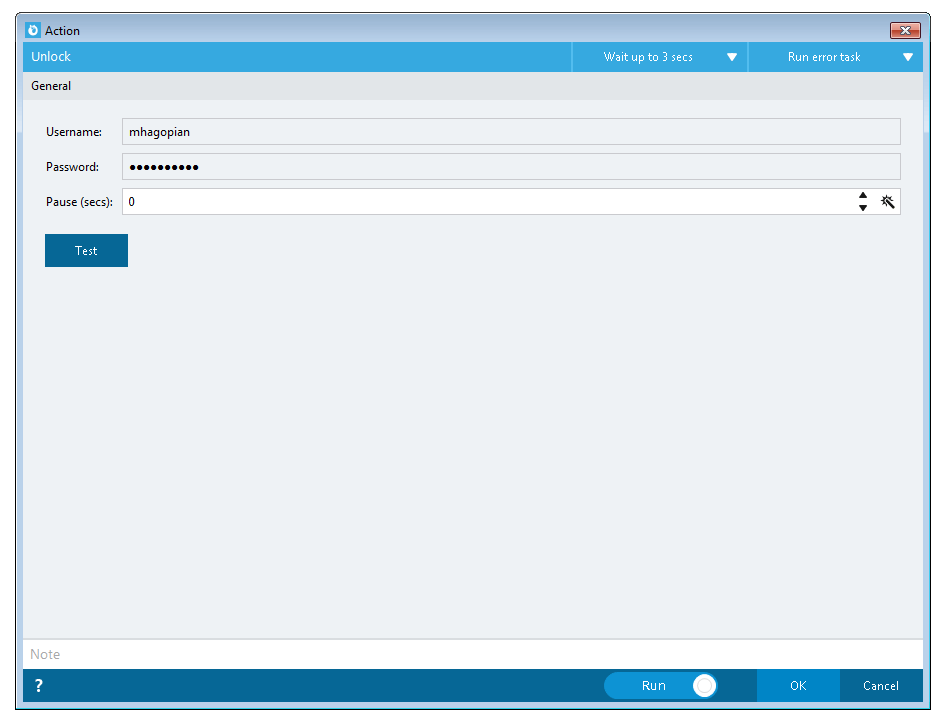
2. After creating the project you wish to schedule, place an Unlock action as the first action in the project, directly under Start Task in your Start Here task. This will require you to enter your Windows password.
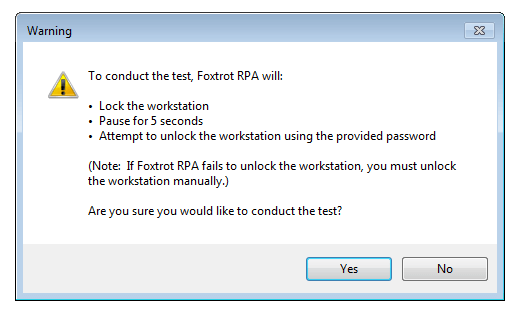
3. We recommend using the Test button to make sure the action is functioning correctly. This will automatically lock your computer, then attempt to unlock it through Foxtrot.
4. If the test fails, see this Support Article for more information about the requirements for Foxtrot Unlocker.
5. Once you have completed a successful test of the Unlock action, you are ready to create a batch file to run the project. Save and close the project before you continue.
Creating a Batch File:
A batch file is simply a text file (.txt) with a string of commands for Windows to execute. However, instead of saving it as a .txt, it needs to be saved with the .bat file extension.1. Open a new instance of Notepad.
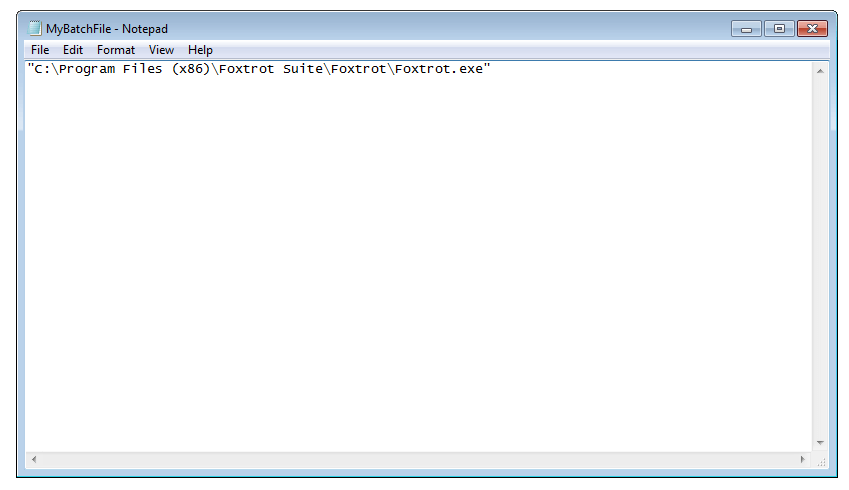
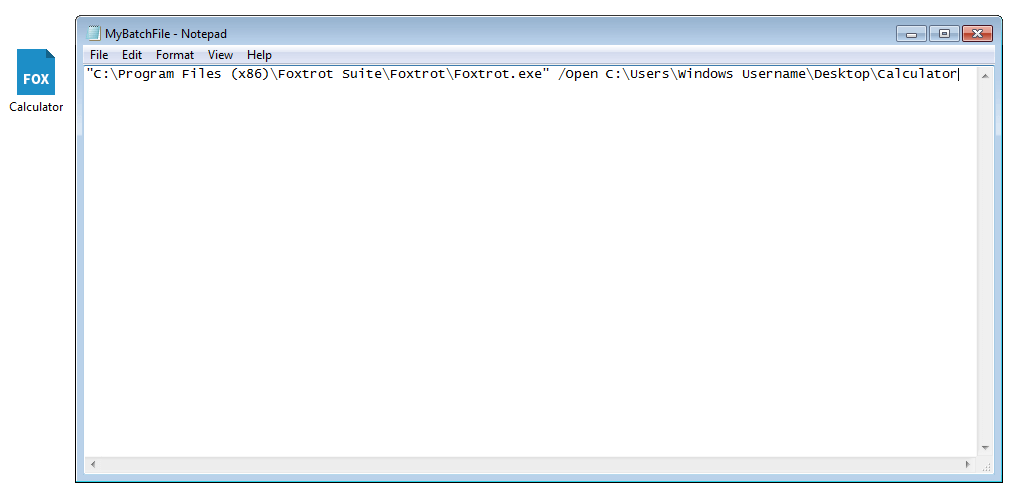
2. The first thing we need to do is tell it to run Foxtrot. Do this by entering the full file path of the Foxtrot executable, surrounded by quotes.
**By default, the path is c:program files (x86)Foxtrot SuiteFoxtrotFoxtrot.exe
This path can vary depending on your installation. If you need further help with finding the executable, please contact your system administrator. **
3. After this, add the series of commands for the file to execute. These will be the instructions that Foxtrot will follow after opening. Each command may have additional information that must be included. For example, to open a project the /Open command is used, but we would need to include the project’s path as well.
4. All commands must be started with a “/”, not a “” character.
5. Most of Foxtrot’s command line syntax takes additional parameters to automate complex tasks such as importing data or running projects.

6. A space must be used before each command. In the example above, notice the space between the project’s file path and the next command of /RunSpeed. All commands must be on a single line.
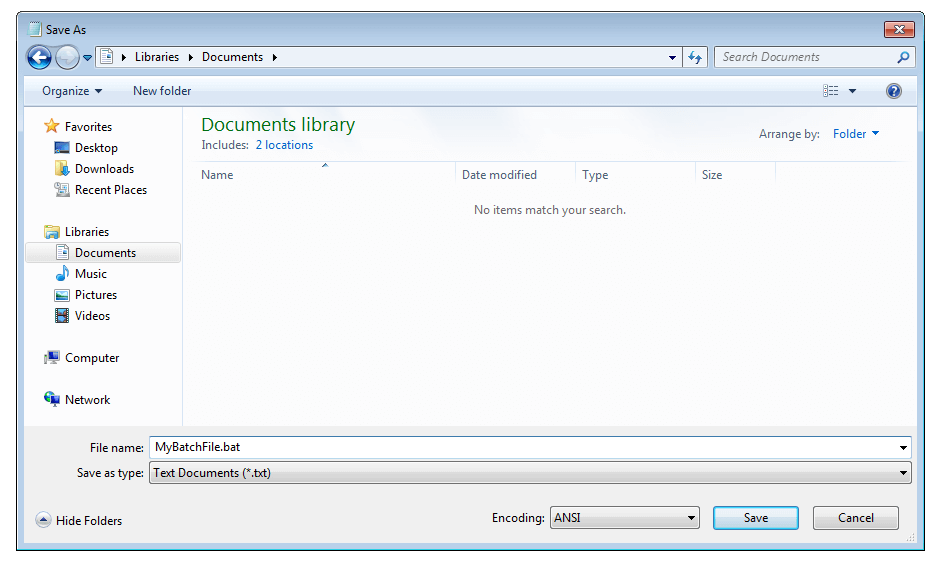
7. When you have entered all the commands desired, save the file. Navigate to File > Save As. Type the desired file name followed by “.bat”.
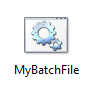
8. You can run the batch file by double clicking the file icon.
9. You should see a cmd.exe open and execute your commands, if everything is correct.
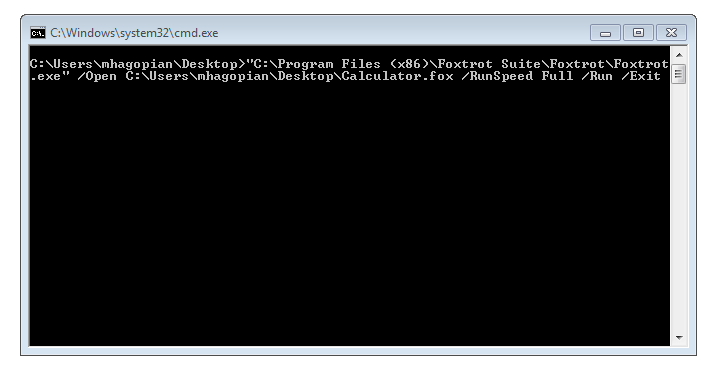
10. If you require users to sign into Foxtrot with a username and password, you will need to add a “/Silent” command to your batch file. This should be before the “/Run” command. This will bypass the login screen and run the project as the Default User.
