

Topic
How can I import a Nintex Promapp process from Microsoft Visio / iGrafx XML?
If enabled by your Promaster, you can import from a valid Microsoft Visio (.vsdx only) or iGrafx (.xml) file. However, there are some things to consider:
-
If your Microsoft Visio file contains multiple diagrams, the last active diagram will be imported by Nintex Promapp. The last active diagram is the diagram displayed when you open the Microsoft Visio file.
-
Nintex Promapp determines the order of the imported text based on the connected elements of the diagram. The first item is the first discovered to have only outgoing connections. If there are forks (for example, parallel or decisions), one path will be followed completely before the second path is followed to complete the ordering. Items that are not connected (for example, headers, swim lanes, or floating text) will be listed last.
-
If the BPMN stencil provided by Microsoft Visio has been used to create the diagram, then some of the shapes can be determined. Sub-processes and gateways will have these prefixes added, so it makes it easy for you to determine which activities in the imported process need to be converted after importing the text.
Instructions
NOTE: A Promaster must enable the option Enable process import from third-party tools (Visio, iGrafx) in Admin > Configure > Print, Import & Export configuration setting.
-
Create a new process or, if in an existing process, ensure you are on the Edit tab.
-
Click Gear > Import > Import From File (Visio, iGrafx XML).

-
The Import from File (Visio, iGrafx XML) prompt appears.
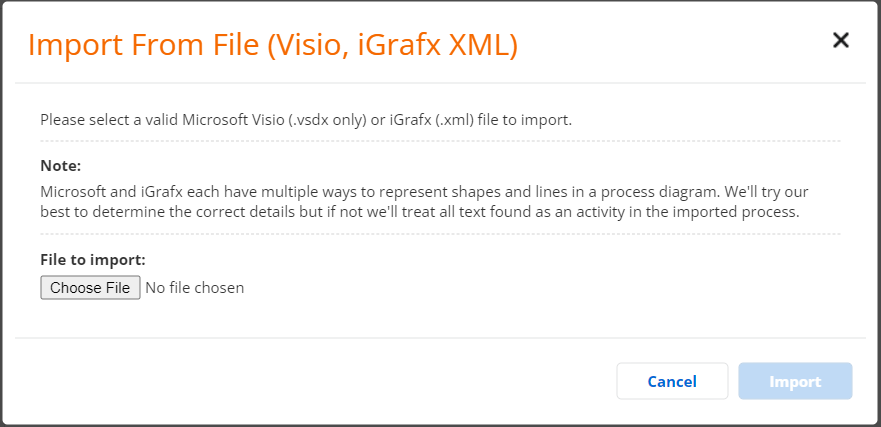
NOTE: Microsoft and iGrafx each have multiple ways to represent shapes and lines in a process diagram. Nintex Promapp will work to determine the correct details, but if it is unable to determine things correctly, all text found will be treated as an activity in the imported process. -
Select the file to be imported.
-
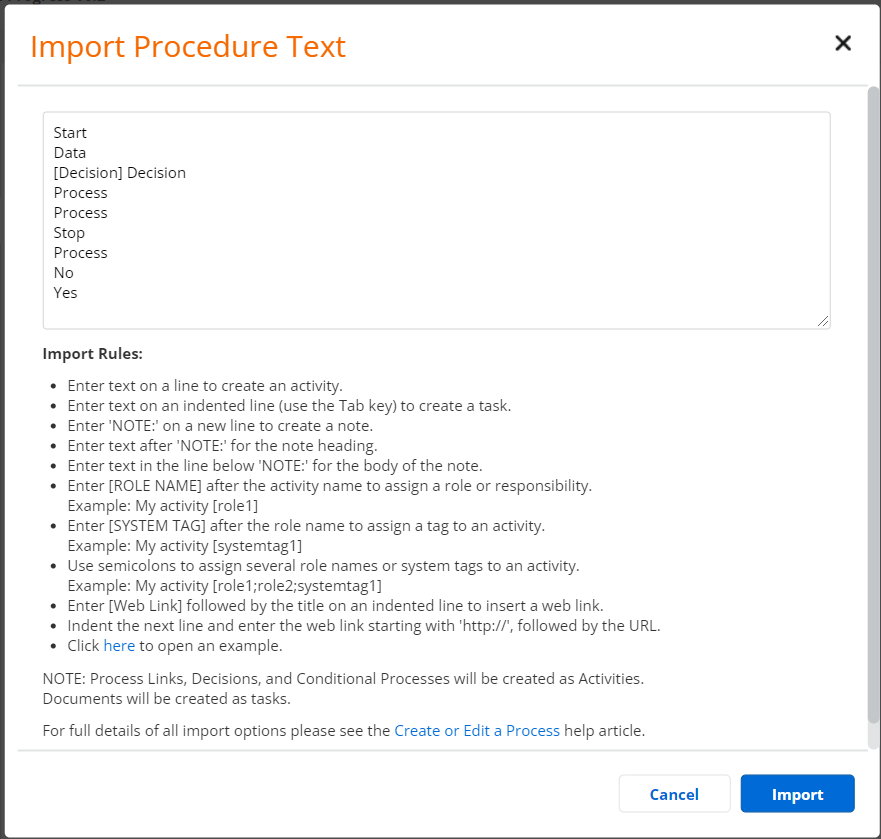
Click Import. The Import Procedure Text prompt displays.
-
In the Import Procedure Text prompt, all elements of the diagram that were part of a flow (connected to other elements) will be included first followed by any other elements that contained text. Verify the displayed text and make any required changes.
-
Click Import.
Additional Information
Import Rules:
-
Enter text on a line to create an activity.
-
Enter text on an indented line (use the Tab key) to create a task.
-
Enter 'NOTE:' on a new line to create a note.
-
Enter text after 'NOTE:' for the note heading.
-
Enter text in the line below 'NOTE:' for the body of the note.
-
Enter [ROLE NAME] after the activity name to assign a role or responsibility.
Example: My activity [role1]
-
Enter [SYSTEM TAG] after the role name to assign a tag to an activity.
Example: My activity [systemtag1]
-
Use semicolons to assign several role names or system tags to an activity.
Example: My activity [role1;role2;systemtag1]
-
Enter [Web Link] followed by the title on an indented line to insert a web link.
-
Indent the next line and enter the web link starting with 'http://', followed by the URL.
NOTE: Process Links, Decisions, and Conditional Processes will be created as Activities. Documents will be created as tasks.
