

Use the following instructions to view, add, edit, or delete user accounts in Nintex Automation Cloud.
View user accounts
- Log in to your Nintex Automation Cloud tenant.
- In the upper right-hand corner, click Settings.

The Nintex Automation Cloud Settings menu
The Tenant and user details page displays. - In the left-hand navigation menu, click User management.
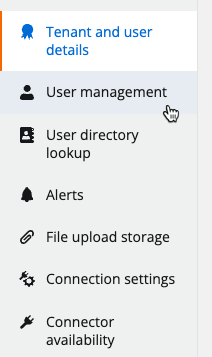
Select User management The User management page displays.
-
Scroll down to the Users section. Here, you can see the email address, first name, last name, and role for all users in your tenant.
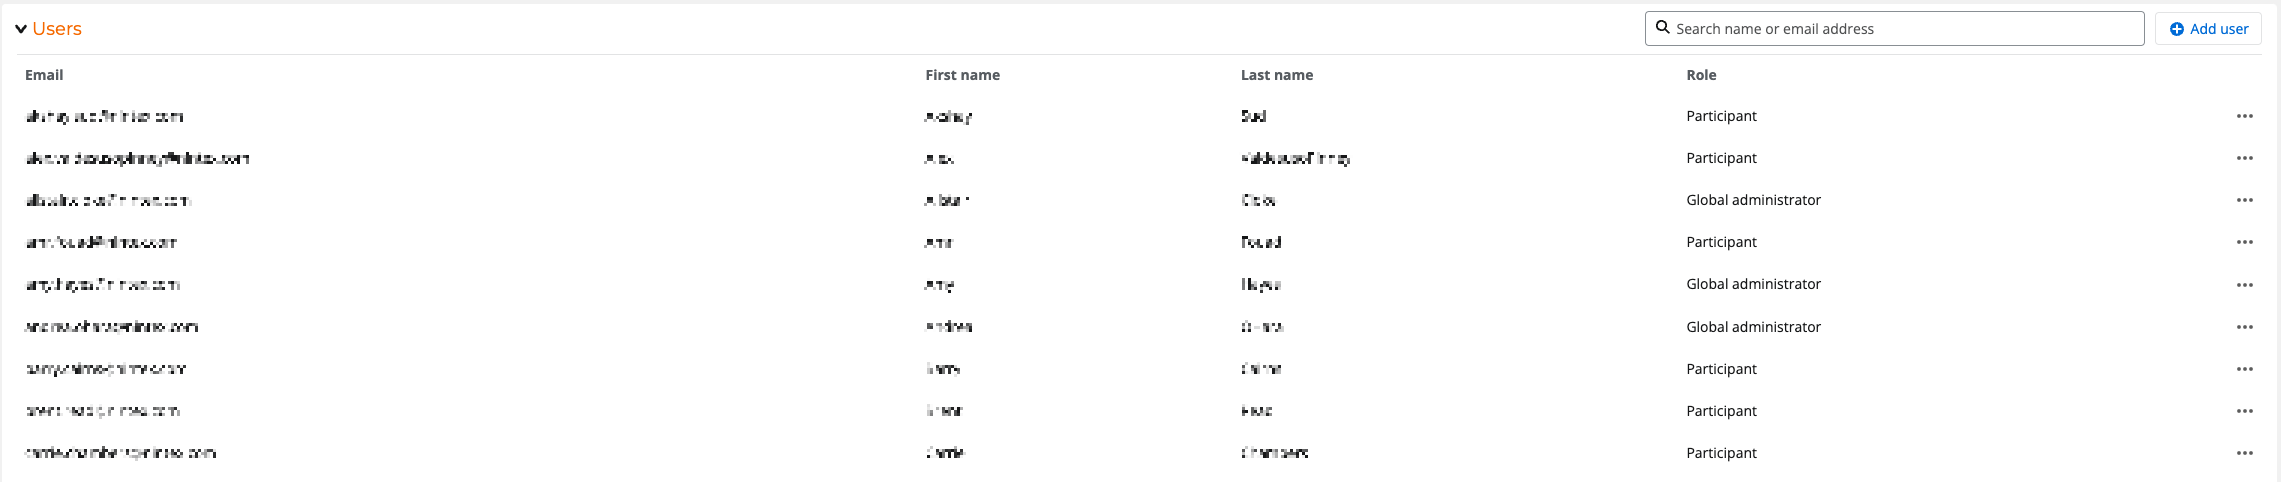
Example Users information
Add a new user account
- Log in to your Nintex Automation Cloud tenant.
- In the upper right-hand corner, click Settings.
The Nintex Automation Cloud Settings menu
The Tenant and user details page displays. - In the left-hand navigation menu, click User management.
Select User management The User management page displays.
-
Scroll down to the Users section.
- Click Add user.

The Add user button
The Add user section appears.
The Add user section - Complete the following sections:
- Email address - enter an email address for the new user
- First name - enter the first name of the new user
- Last name - enter the last name of the new user
- Roles - select a role for the new user
- Click Add.

Adding a new user -
The new user is added to the list of users on the page.
The added user receives an invitation email message to create a Nintex password. This password link expires in five days. If the link expires, can the added user request a new link from Support or click Forgot password? on the login page and create a password through the reset password process
Edit a user’s role
- Log in to your Nintex Automation Cloud tenant.
- In the upper right-hand corner, click Settings.
The Nintex Automation Cloud Settings menu
The Tenant and user details page displays. - In the left-hand navigation menu, click User management.
Select User management The User management page displays.
-
Scroll down to the Users section.
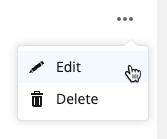
- Locate the user to be edited and click the ellipses (...) to the far right of their name.

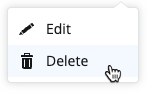
Select a user to edit - Click Edit.
Click Edit - In the Role column, select a new role for the user.
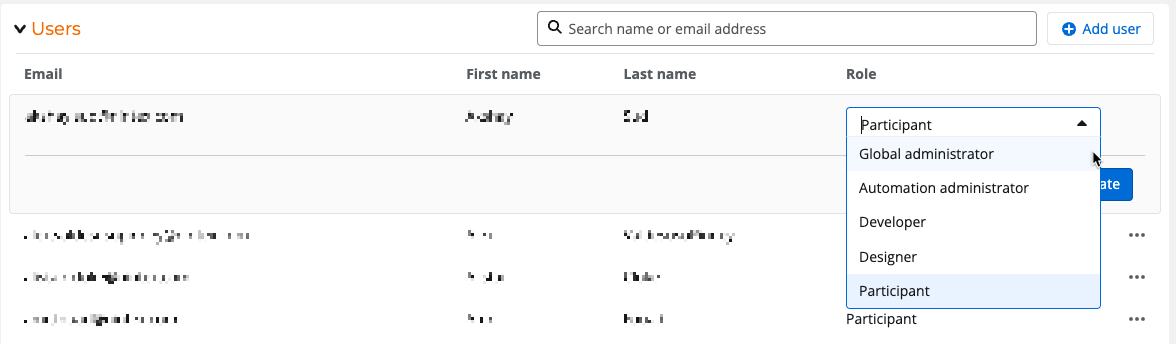
- Click Submit to save the new user role.
Delete a user account
- Log in to your Nintex Automation Cloud tenant.
- In the upper right-hand corner, click Settings.
The Nintex Automation Cloud Settings menu
The Tenant and user details page displays. - In the left-hand navigation menu, click User management.
Select User management The User management page displays.
-
Scroll down to the Users section.
- Locate the user to be deleted and click the ellipses (...) to the far right of their name.

- Click Delete.
Click Delete - The Delete button is displayed for the selected user. Click Delete.
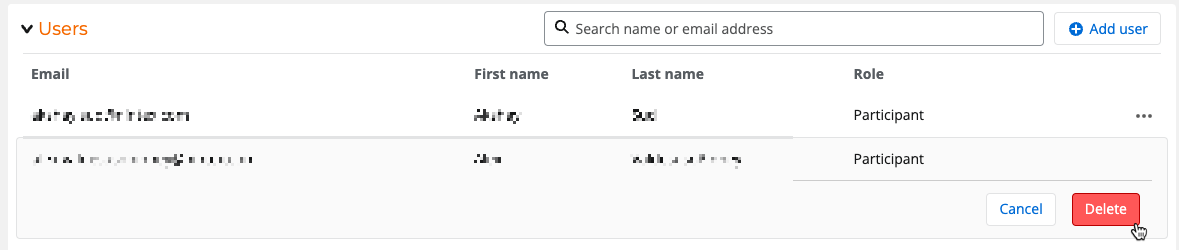
- The user is deleted.
