

Topic
Creating connections in Office 365 for use in Nintex Workflows
Instructions
Shared Connection:
- Open the Nintex Workflow for Office 365 app
- Navigate to Site Contents > Nintex Workflow for Office 365 or directly from a your list by clicking the Nintex Workflow button in the ribbon.
- Select 'Connections'
- Click 'Create New Shared Connection'
- The drop-down menu will present many options for connection types. Reference the 'Connection types and Connector actions' section of Connections to identify which connection type is needed.
Personal Connection:
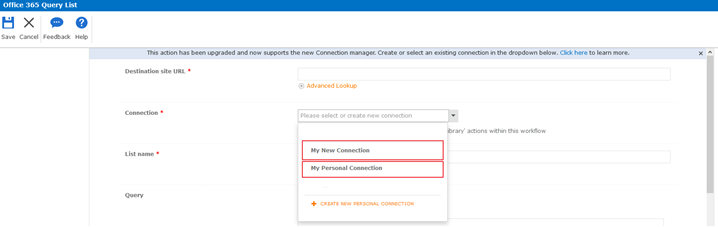
- In the Nintex Workflow Designer, open the configuration for an action that utilizes a connection.
- In the ‘Connection’ drop-down menu, select ‘+ Create New Personal Connection’
Note: The instructions for both connection types are the same from this point forward.
- Enter the Connection Name and Tenant URL. Click ‘Connect’
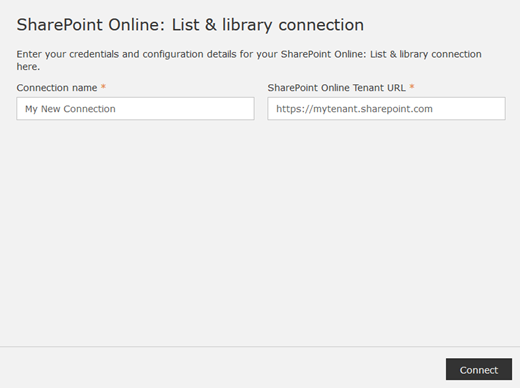
- Enter the credentials that the connection will use.
- The permissions requirements for each connection type are specified in the 'Connection types and Connector actions' section of Connections.
- The connection is then displayed under ‘Available Connections’ as well as within the ‘Connections’ drop-down menu in workflow action configurations.

Related Links
Connections in Nintex for Office 365
https://help.nintex.com/en-US/Office365/Workflows/Connections.htm
