

There are many examples of files and documents languishing in legacy or onpremises containers and being manually dragged and dropped or browse upload to an end repository. Invoices scanned or emailed to a central location, bills of sale dropped off in the mail, certificates of authentication, transaction receipts and so on.
Take a look at your email inbox. In the last week there’s probably been a PDF you’ve received or a spreadsheet you’ve been sent to update or simply store somewhere in the cloud to then work on or share elsewhere as best practice. I believe digitally transforming these use cases should be quick and easy but truly transformational to the business implementing them.
So how can we get from the legacy to the cloud, particularly when it comes to documents and files. We’ve seen Nintex RPA Run Workflow explained before, if you haven’t here’s an example - https://youtu.be/UROFnETCkM8 but that’s all text values. How do I get a physical document up there.
You’ll need a few things ahead of time:
- A Nintex Workflow Cloud tenant – if you don’t have one, get one HERE
- Nintex Robotic Process Automation – if you don’t have it, get it HERE
- Somewhere to store your documents – SharePoint Online will be the example I’ll use, but it could be an EFSS application
Let’s get the Botflow built and tested first of all. I won’t go into all the action configuration as I have attached the solution HERE but there are a few things to point out. As our Botflow is going to interrogate email AND local file store for my files, we need to set up a few things.
Set up your environment variables: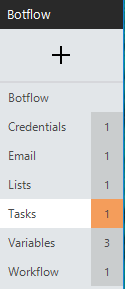
Credentials: These are the credentials for the email address that we will be accessing to search for invoices.
Email: The Exchange details of the incoming and outgoing email that we want to access. No real gotchas here, just make sure you Test Settings.
Lists: This is a list of all the PDF files that we’ve collated to send to workflow.
Variables: I’ve created three variables but we may have many more, particularly if you are OCR the PDF you may have order numbers, invoice numbers, order details, customer names and so on.
Name: File
Type: Text
Name: FileName
Type: Text
Name: FolderPath
Type: Text
Value: [*DESKTOP_DIRECTORY]Invoices – where Invoices is the name of a directory on my local machine desktop.
Workflow: This is the Personal Access Token from Nintex Workflow Cloud which you’ll require later to connect to the workflows. In Nintex Workflow Cloud, navigate to Settings - </> Personal Access Tokens – Create New – paste the token into Nintex RPA.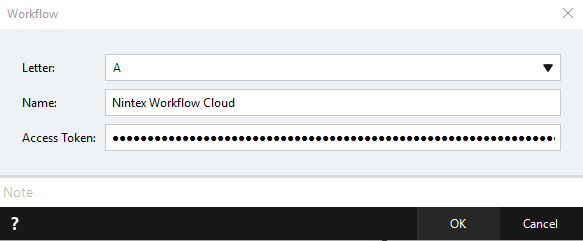
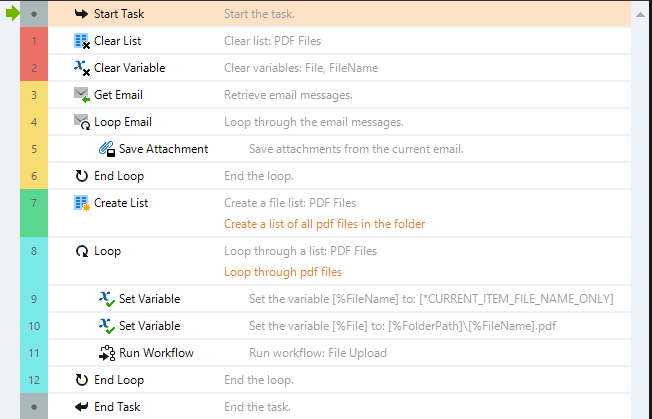
The Botflow itself is relatively simple but let’s take a look:
Here’s we’ll just clear the decks of any pre stored variables or previous files in the Invoice list.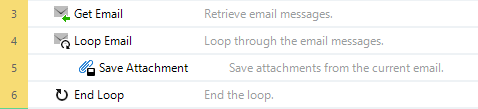
Getting the right emails and resulting attachments are critical here. Using the conditions in Get Email will allow us to pick only those attachments we need to upload. Alternatively, we could process everything and let a human centric task review and approve for upload.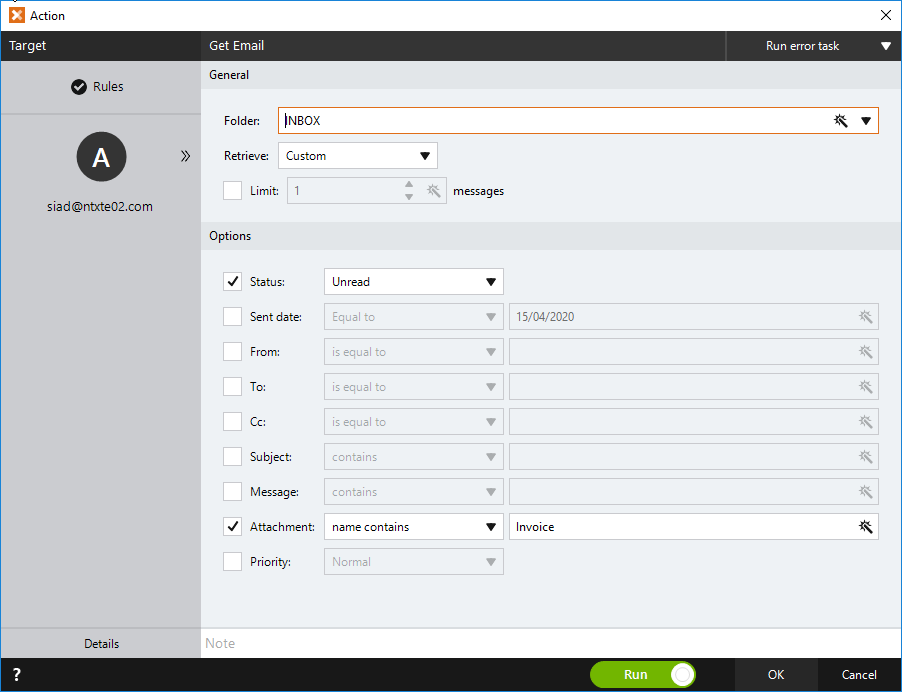
Match the Save Attachment Destination to your %FolderPath variable.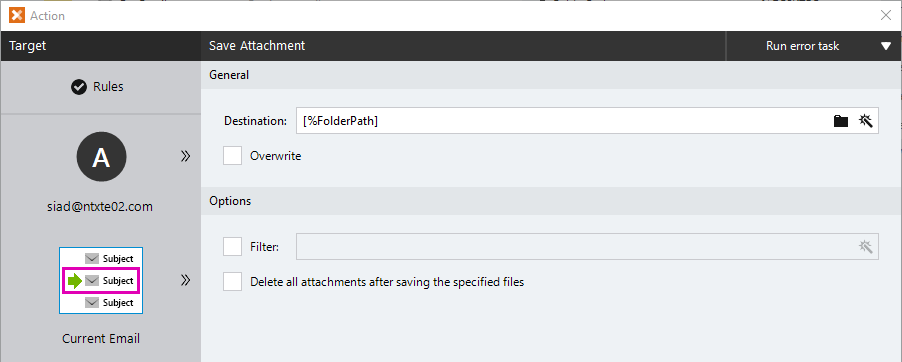

In order to loop through all the stored PDF Invoices we want to create a list to iterate through. This’ll greatly reduce the number of Botflow steps we need to work through the list, and if this is a scheduled job on a daily/weekly/monthly period, we’ll want to overwrite any existing list.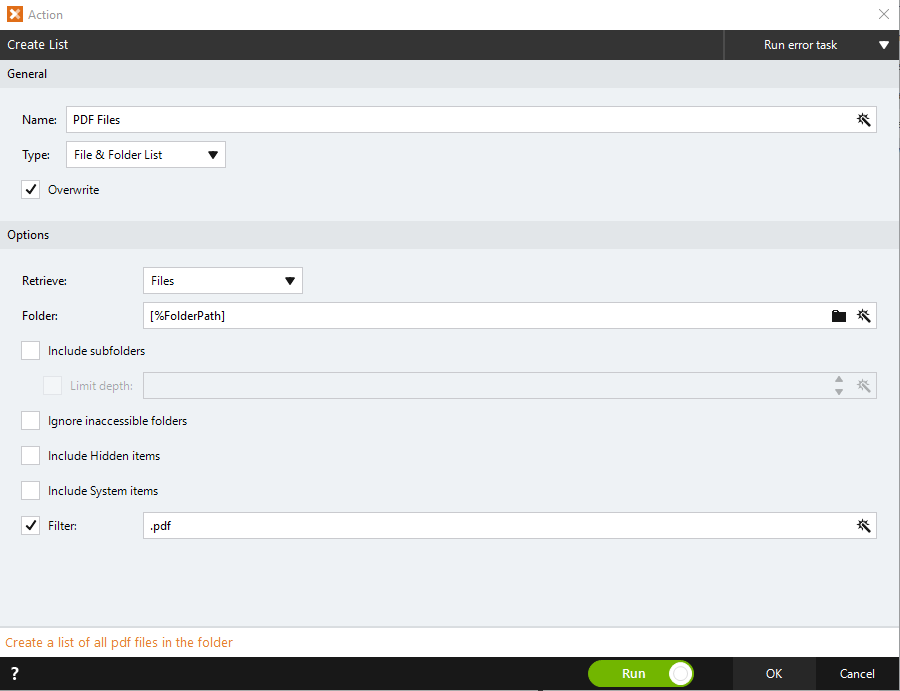
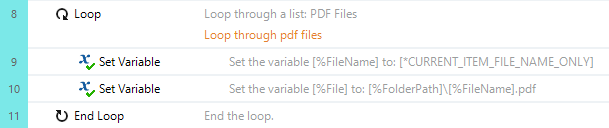
Loop through the list, the loop number will change depending on how many files you have in the list, merged from email and the local file store existing.
For that particular loop we want to Set our FileName and File variables to the specifics of the Invoice in hand.
At this stage you can run the Botflow to test, a few things should happen:
Loop Email should have a number that reflects the number of matching condition emails in the email you reference.
The folder location you set as FolderPath should populate with those email attachments.
The List variable number should change to reflect how many files you have to work through, as should your Loop.
Variables for File and FileName should update to reflect the respective file metadata.
I’ll move onto the workflow build next, but first I need a very simple SharePoint Online list to store my invoice data and the invoices as an attachment. If you are passing anything other than Title and Attachment, you should add more columns, but my example is quite simple.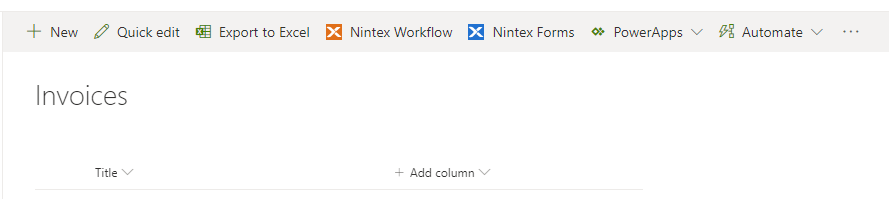
Let’s move on to the Nintex Workflow Cloud build.
Create a new workflow. The start event we want is a Component Workflow as this will allow the Run Workflow action in Nintex RPA to pick it up as an endpoint. Here we’ll need to create variables for whatever values you are capturing in the Botflow and passing up to workflow. Important: you must create a File variable at this point to match with the full file path variable in the Botflow. Passing to a Text variable will not work.
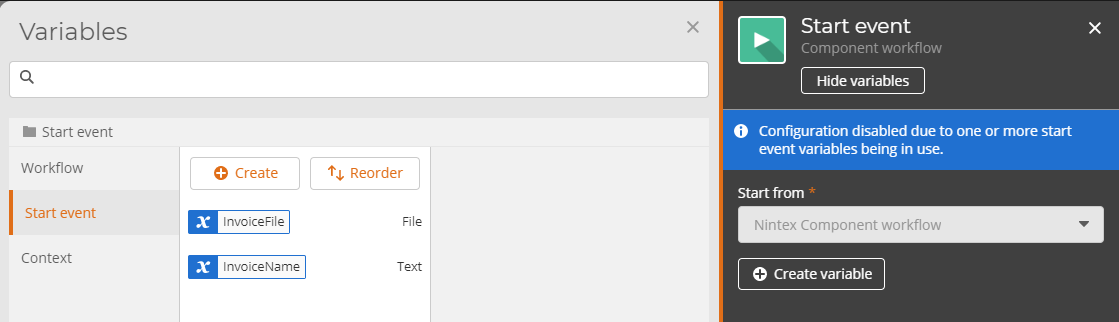
The workflow build itself will depend on how you want your business process to run. It may email the attachment first. It may email it with a task or it may upload first to SharePoint and link back for the task stage.
Just make sure that in any of the actions you want the File to appear as an attachment you select the File variable you create to input.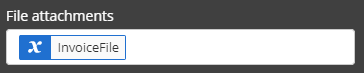
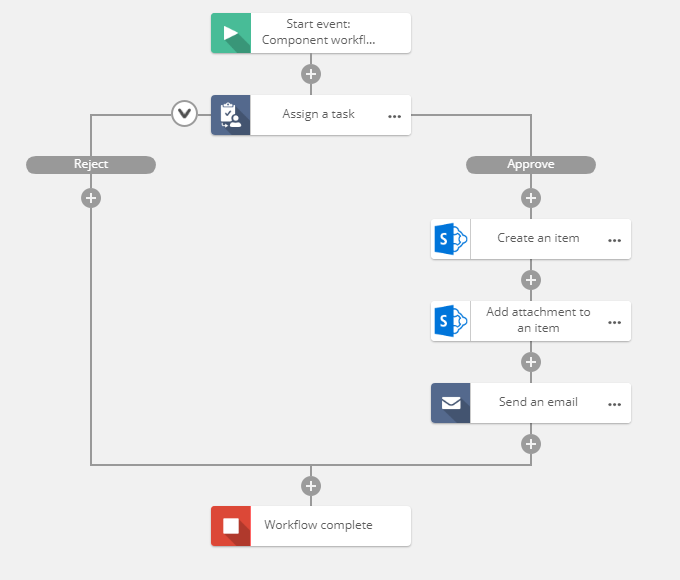
I’ve chosen SharePoint Online to store my files so I’ll need to create an item first in SharePoint Online, passing the variables you created at the start which will be fed by the Botflow into the respective SharePoint Online columns. Here I have Title to be declared as my Invoice Name. It’s important to create two variables here for Store item ID and Store item URL – these values are returned to workflow by SharePoint once the item is created.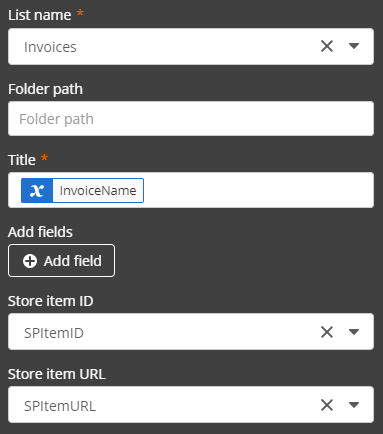
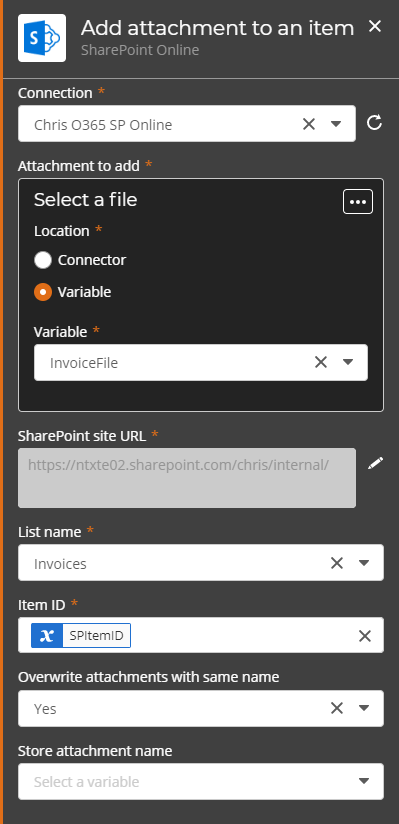
Final step to get the file into SharePoint is the Add attachment to an item action. The attachment we want to add is a variable, not a Connector location and select your file variable. Add the same site URL as the previous step, it’s probably still on your clipboard, and the same list. The Item ID will the variable you just created for Store item ID.
Publish the workflow and we’re ready to match Botflow to workflow.
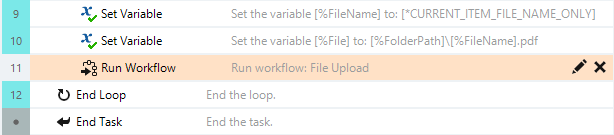
The action we’ll need is Flow – Run Workflow and make sure it is placed just before the End Loop.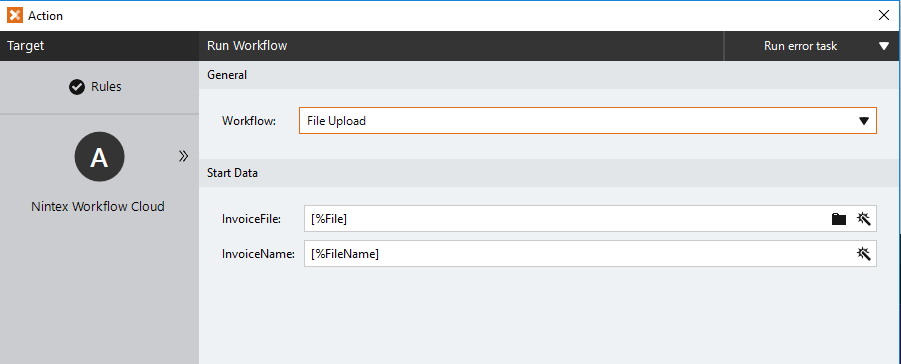
Select the File Upload component workflow that was just created in Nintex Workflow Cloud and match the Botflow variables to the Start event variable and that’s it.
I've recorded the above demo and build as an overview:
