

**Update 4/8/2021** Mimetypes for Google Slides and PowerPoint have been added to the Xtension and the table reference inline.
With the recent rollout of a wide-variety of Google Workspace actions (Five New Connectors with over 30 actions total!), I wanted to build on the work the team did, and provide an additional action that will allow for incorporating Google Sheets and Google Docs into our native Document Generation functionality. The goal of this blog series will be to address two questions: 1) How do we use Google Sheets / Google Docs as templates for generating documents within a Nintex Workflow; and 2) How do we insert multiple rows of data into a table for document generation. For this first blog we'll cover using Google Docs as a template.
To start, I created an Xtension for Google Workspace that will export Google Sheets / Docs into a variety of file types. It's fairly straightforward to add into your environment and the setup instructions are included at the link above. Once this Xtension has been added, the workflow setup will be fairly simple.
If you would prefer to skip the reading, I have included a video walkthrough of configuring the actions and inputs below.
First, go to your Google Drive and ensure that there is a Google Doc, or Google Sheet you would like to use as a document generation template. This can either be started as a new document, or using a document template you have previously created. In my example I am creating a new document and naming it 'New Doc.' 
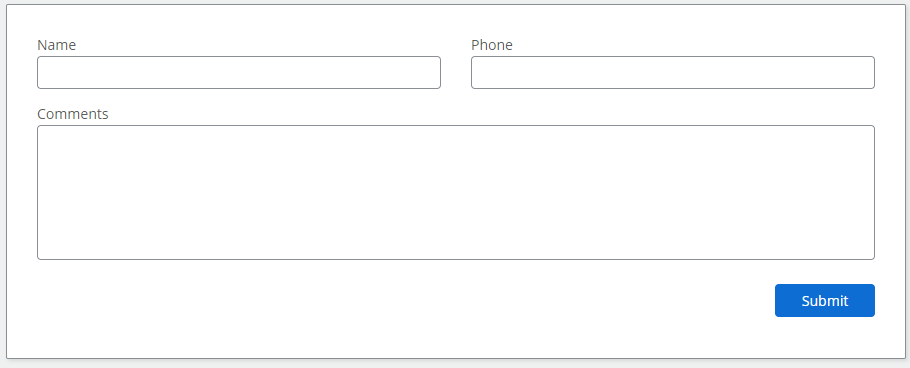
Next open your workflow designer, and configure a form with some data you would like to pass into this new document we have created. For my example I am capturing three fields: Name, Phone, and Comment.
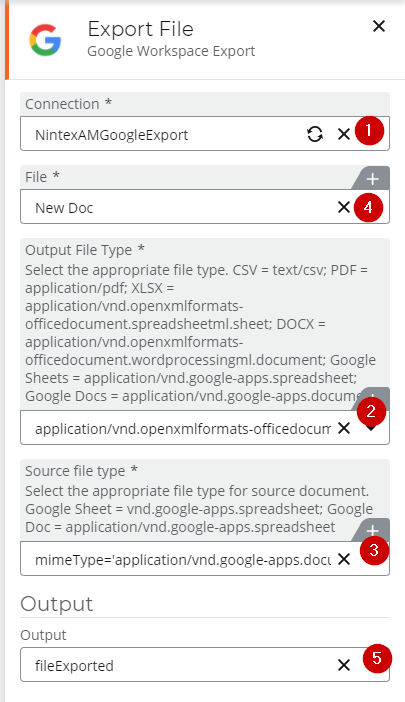
Once the form is configured we can add our 'Export File' action to the canvas. If this is not available make sure the Google Workspace Xtension is added to your NWC Environment and configured. The 'Output File type', will be what type of file we want to pull back, the 'Source File Type' will be what type of file the original is. Once you have selected the 'Source File Type' the 'File' dropdown will be populated with the option to pick from any of that Google File type that exists on your Google Drive. You will also need to configure a variable for the output (by default this action uses a file variable). I've included a table below for some additional context around which MIME Type translates to which file type.
| File Type | MIME Type |
| CSV | text/csv |
| application/pdf | |
| XLSX (Excel) | application/vnd.openxmlformats-officedocument.spreadsheetml.sheet |
| DOCX (Word) | application/vnd.openxmlformats-officedocument.wordprocessingml.document |
| PPTX (PowerPoint) | application/vnd.openxmlformats-officedocument.presentationml.presentation |
| Google Sheets | application/vnd.google-apps.spreadsheet |
| Google Docs | application/vnd.google-apps.document |
| Google Slides | application/vnd.google-apps.presentation |
Once the export action is configured, you can move on to setup for the 'Generate Document' action. First you will set the 'Generation type'; this will default to a Single PDF, but you can update the configuration if so desired. Next you will select the template for the Document Generation. For this piece you will want to select 'File Variable' and use the Template configured from the 'Export File' action. Additionally you will want to configure the Output name (you do not need to include the file extension here) and the output options (I just configured the 'Store All files' for this example). Once the action is configured, you will click on the 'Open Nintex Document Tagger' and we will go back to the Google Doc template you built earlier.

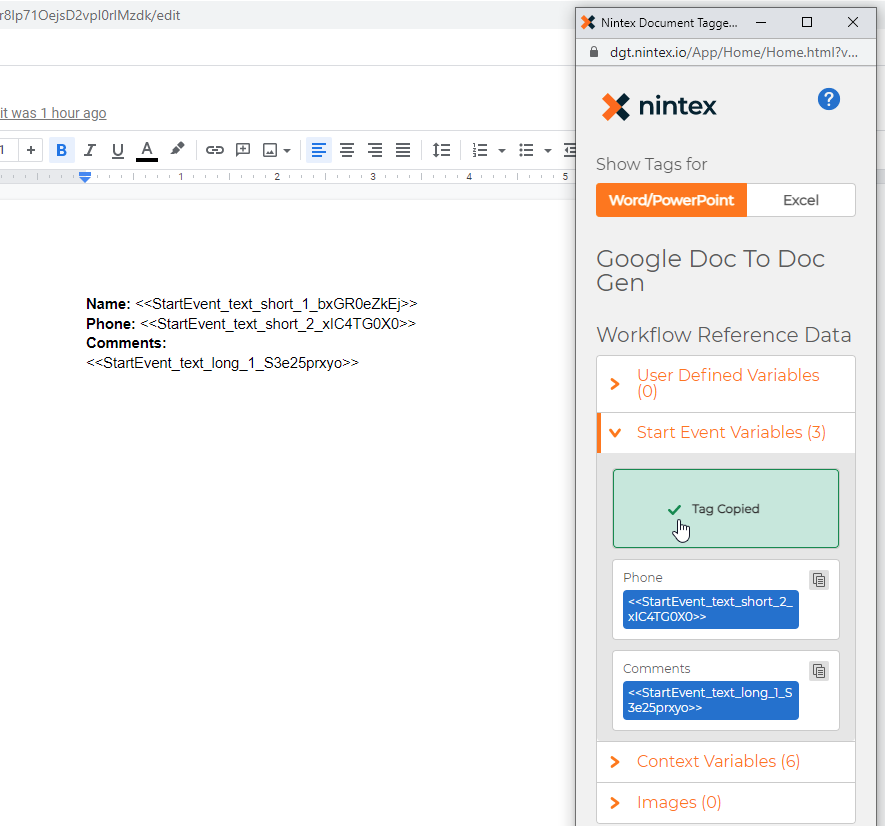
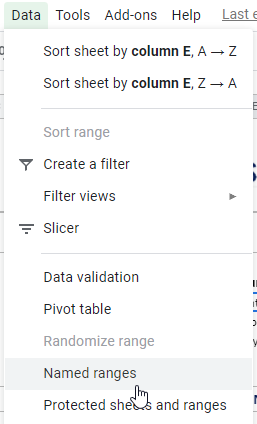
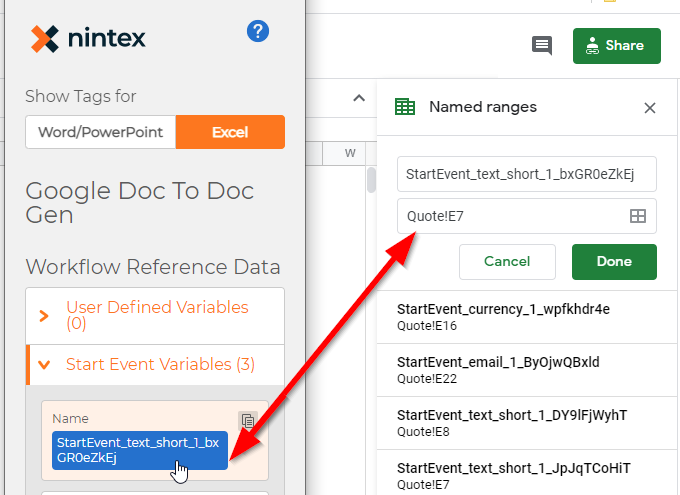
When you click on the Document tagger it will bring up a menu with all of the variables we have available to tag into the document. This is the same as if you were tagging in a Word Document. You will just need to click the appropriate tag, then paste into the document in the appropriate location. If you have any formatting changes or anything else you would like to apply, you can add that on the document tag as well. For a Google Sheet, you will need to click the 'Data' tab at the top of your sheet and and a Named Range for the cell where you would like to input data. You will use the 'Excel' option in the document tagger when tagging a Google Sheet. I've invluded examples of what both will look like below:
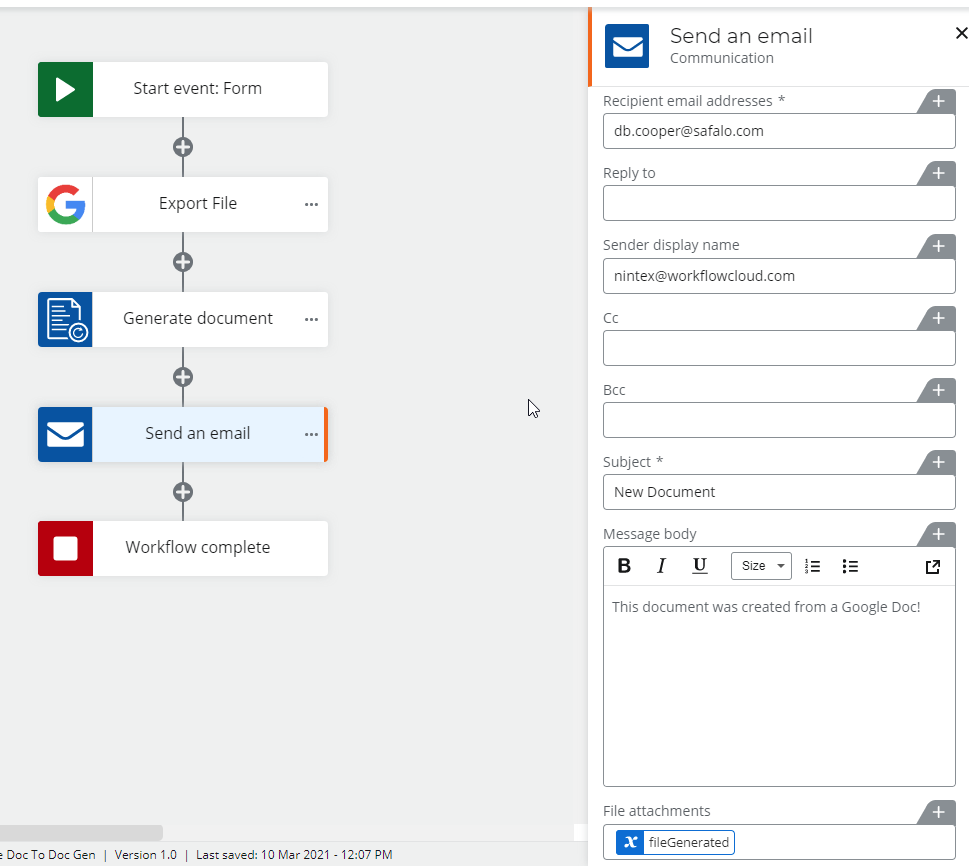
Once complete, the document should autosave and you should be good to add one final action for testing your workflow. In my example, I added a 'Send an email' action and put the collection variable from the Generate Documents as the attachments. The Workflow is now complete and can be tested!
For the next iteration of this series, I'll be reviewing an example of adding multiple rows into a Google Sheet.
Related Posts:
Google Workspace + Nintex DocGen Part 2: Adding Rows to a Static Google Sheet
