

Excel as Middleware is one of my favorite functionality with Drawloop, however it's hard to wrap your head around it at first or what kind of use cases are best for using this functionality. As there's millions of ways to use this functionality, here's an example of one that I see often that gets asked which is to separate the value from multi-picklist fields.
Here's a quick recap on how iExcel as Middleware works:
You can push Salesforce data from Excel and manipulate the data on how you would like it to look like. From there you can push the manipulated data from Excel to your Word or PowerPoint template (or even use the data for Insert-Updates).

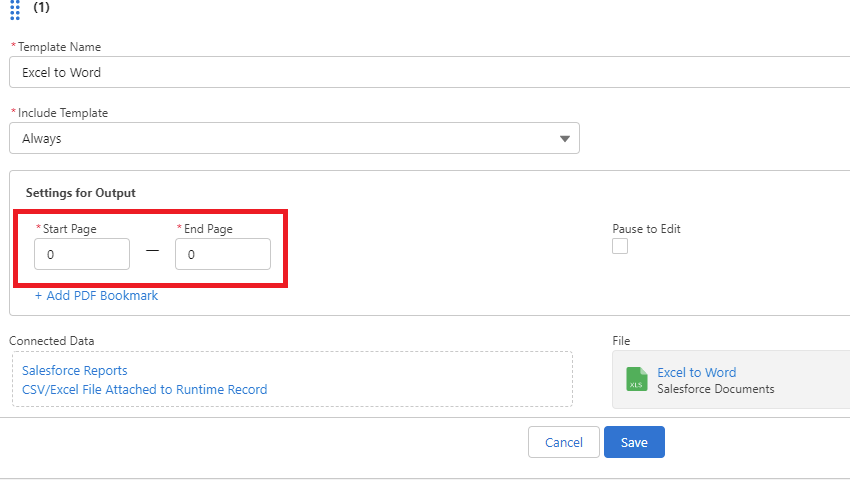
I recommend having the Excel file as the first template on your package as Drawloop will process documents in the sort order of the template. You can also have the Excel file start to end page set to 0 to 0 which will have the Excel do the caluclation it needs to do and the end user generating the document does not see the Excel file as part of their final document:
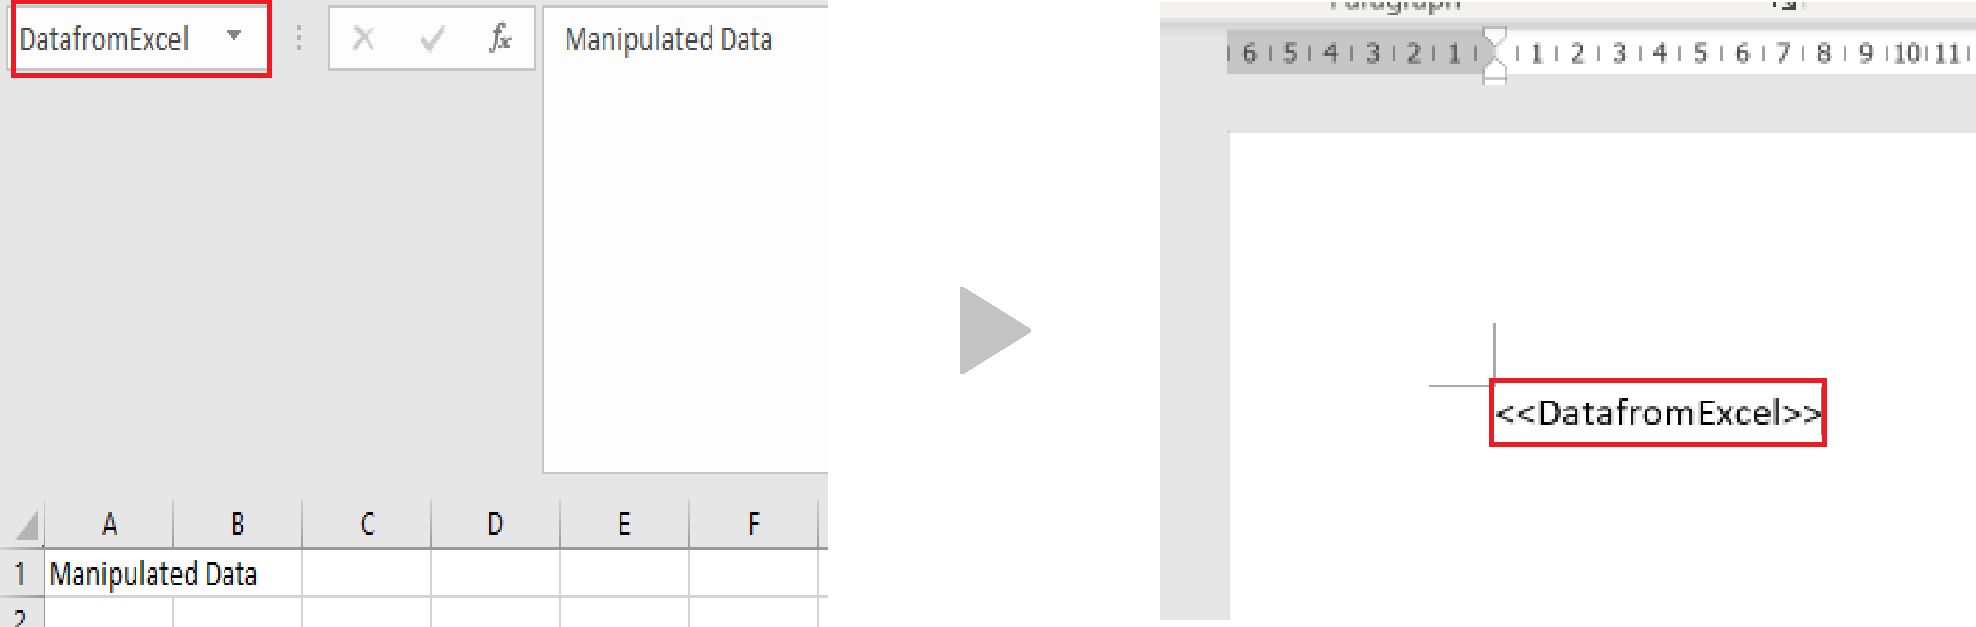
You can either push a single cell or a range of data into your Word/PowerPoint template. If doing just a single cell, you would just need to name the cell that you would like to push to your template and map the data by surrounding the name of cell in <<>> brackets:
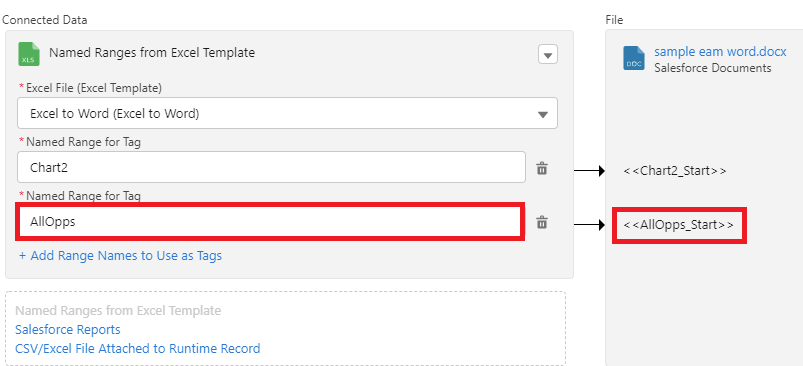
If you're gonig to be pushing a range of data to do a row replication, then you will need to make sure the Excel file is connected to the template you would like to push to
For this specific use case, we'll be using Excel as Middleware to take a multipicklist value from Salesforce and have them separated out in their own line. When using a field tag with multipicklist values, the values will come in with semicolon such as: value1;value2;value3
This isn't an ideal way to present the data (especially when you want the document to look nice). So this is where Excel as Middleware can come into make your data look presentable.
In Excel, you want to make sure you have a cell tagged with the field tag. I usually like to fill the cell with sample data just to see how the Excel file will react with data.
From there, you want to have 3 columns. First column indicating row number, second column indicating the picklist value, and the third column is going to bring in the value if the value exist in the multi-picklsit field. I have this in a separate sheet to make it easier for myself.
In the second column, have all the values from the multipicklist field.
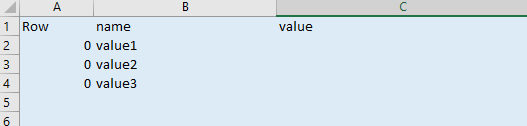
In the first row/column (A2), this is going to determine the row number. If the value exists, it will return me the row number of 1, if it doesn't it will return me the value of 0.
=IF(COUNTIF(Data!A:A, "*value1*")=1, 1, 0)
The rows after will do the same, except if the value does exist, it will add 1 to whatever the value of the previous row was:
=IF(COUNTIF(Data!A:A, "*value2*")=1, A2+1, A2)
In the thrid column, if the row doesn't equal 0 or the same row as above then it should bring the value in:
=IF(A2>0, B2, "") =IF(A3=A2, "", B3)
Lastly, in another section, you want to bring in the value if it equals whatever row number it's at:
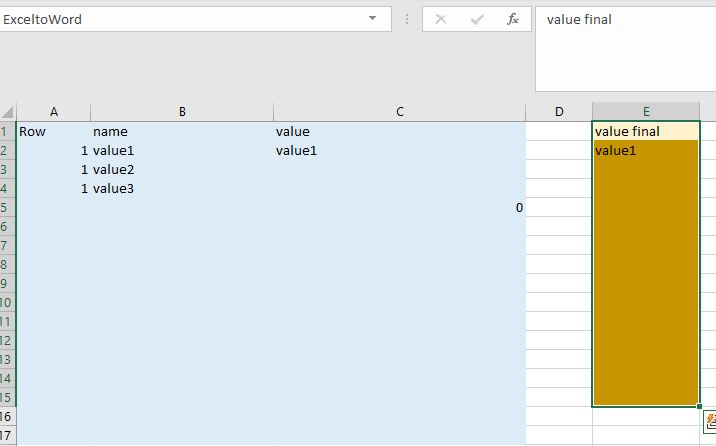
=IFERROR(VLOOKUP(ROW()-1,A:C, 3, FALSE), "")
Bring this formula down to the same equivalent as how many values you have in the 2nd column where you've indicated your multipicklist field's values. Make sure to give the range this area a name. In the example screenshot I've used "ExceltoWord".
Once done, make sure to tag your Word document is tagged and this will bring in the values from Excel straight into your document.
The attached template is the same one used in this example.
