While working on a POC for a client I had a situation where we would be creating a document from any combination of 3 document generation templates that we were using, creating a document that would be sent to AssureSign for signature. What I am going to show in this blog is how to create signature Jotblocks using embedded text tags in your templates and how to setup the AssureSign template to handle for this situation.
Creating Your Template in Nintex AssureSign
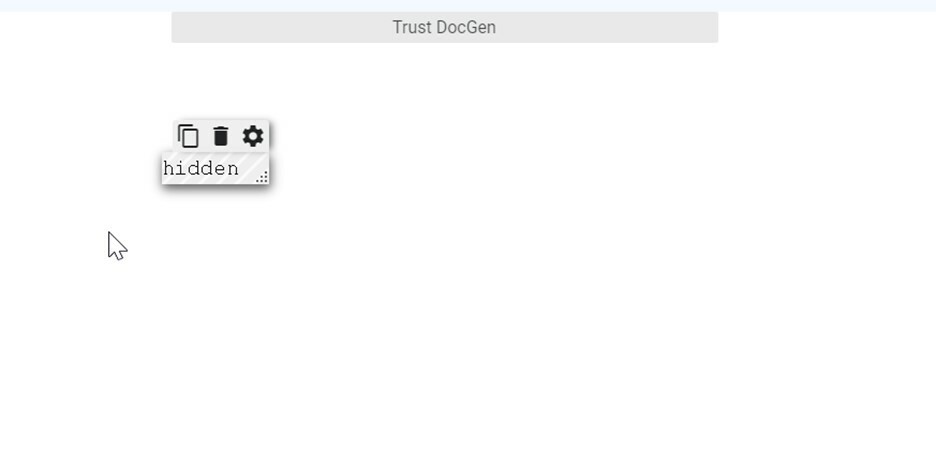
As we talked about in my previous post even though we are generating the document in the workflow we will still need a template in AssureSign. In this case however we will be using embedded text tags in the generated document in order generate the signature Jotblocks for us. So we will be configuring the AssureSign template a little differently instead of using Jotblocks on the template for each signature, we will just be placing one hidden field on the template. In this case after we add a signer all we are going to add to the template is a fixed text jotblock that we will set as hidden.
Creating the AssureSign Embedded Text Tags in your Document Generation templates.
Now we will be looking at how to create the Embedded Text Tags in your document generation templates.
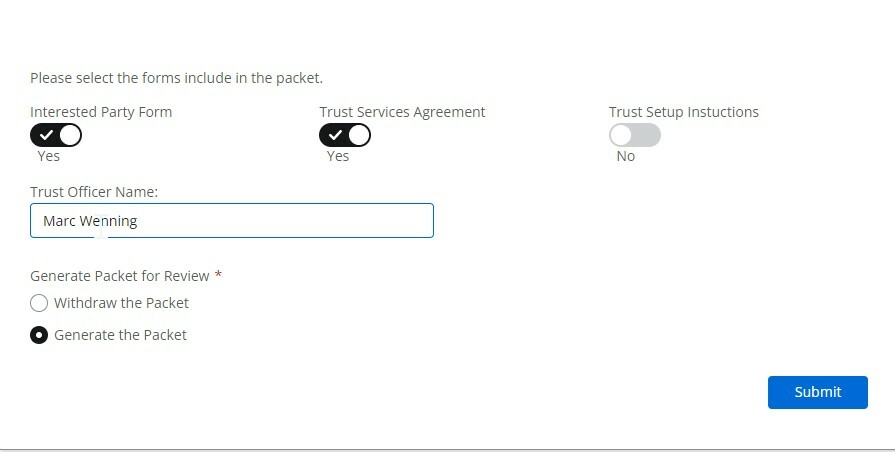
As a Reminder in this POC we had 3 templates that could be chosen during a task in the workflow to generate a document that would be sent to AssureSign for signature.
So, we needed AssureSign to handle the correct amount of signatures needed based on the documents selected. In order to handle this, we are going to use AssureSign Embedded Text Tags in the templates to create the signature blocks dynamically. How to create the Embedded Tags is documented in this support article for AssureSign. Defining JotBlocks Through Embedded Text Tags – AssureSign
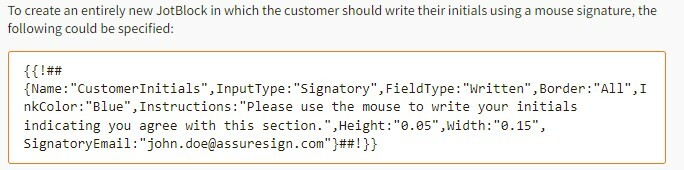
We will be following this structure to create the signature tags we will be putting in our templates, let’s look at the tags we are going to use.
Tag for Template 1
{{!##{Name:"sign1",InputType:"Signatory",FieldType:"Written",Certified:”True”, SignatoryEmail:"<<StartEvent_email_1_fRnXXDJyy9>>"}##!}}
Tag for Template 2
{{!##{Name:"sign2",InputType:"Signatory",FieldType:"Written",Certified:”True”, SignatoryEmail:"<<StartEvent_email_1_fRnXXDJyy9>>"}##!}}
Tag for Template 3
{{!##{Name:"sign3",InputType:"Signatory",FieldType:"Written",Certified:”True”, SignatoryEmail:"<<StartEvent_email_1_fRnXXDJyy9>>"}##!}}
These tags will be placed in our templates where we want the signer to sign and will dynamically generate the signature Jotblocks for us. These means we don’t need to know how many signatures we will have ahead of time, in our case we could have anywhere from 1 to 3 signatures needed based on the selection of templates used to create the document packet. You will also notice in the tags that we are inserting the SignatoryEmail using a tag from the Nintex Document Generation Document Tagger for an email address collected on the initial form.
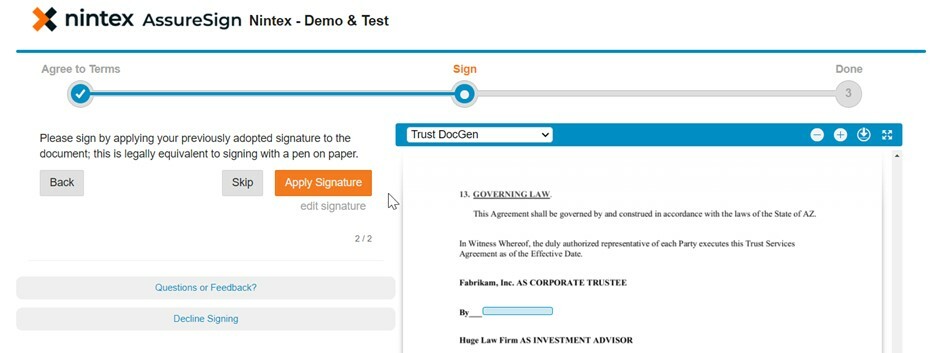
So based on the 2 documents selected in the screenshot above we will now have two signature blocks when we are in the signing process.
Signature 1:
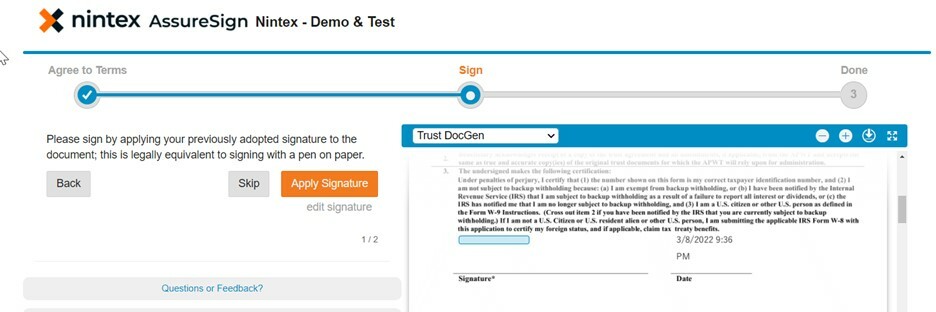
Signature 2: